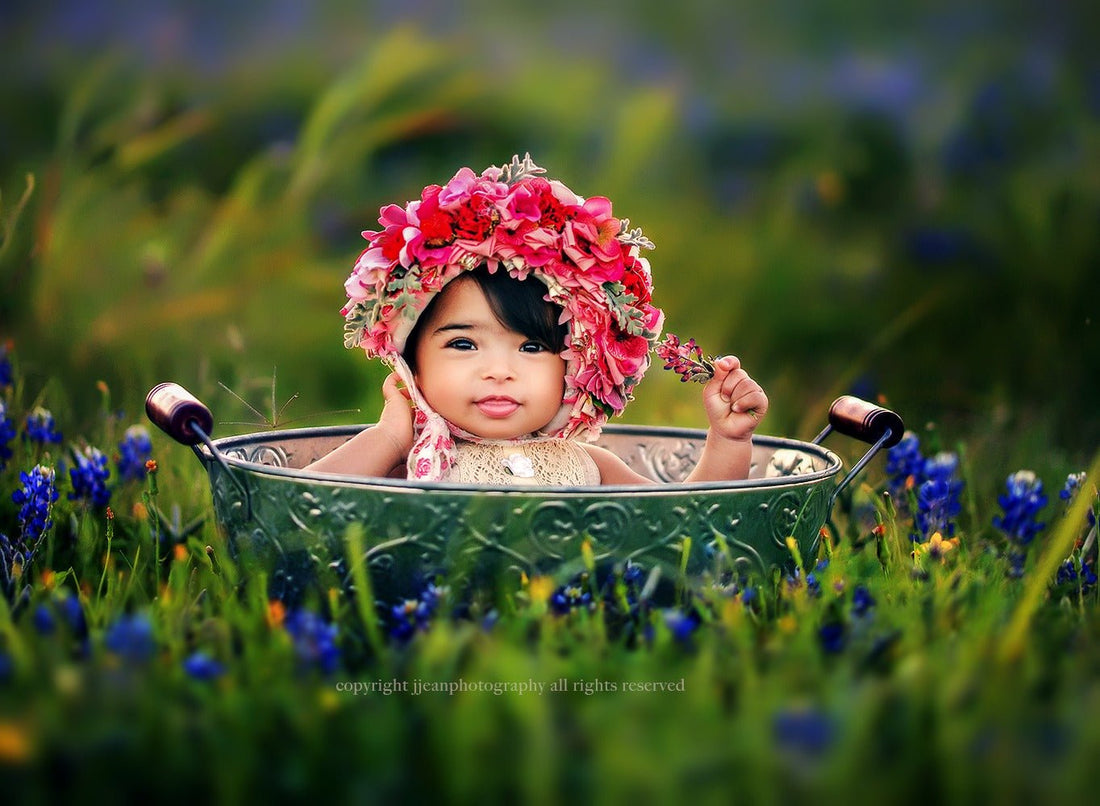
Green can be such a beautiful color in photographs, but sometimes it can appear dull or even neon depending on the lighting conditions, so I wanted to put together some essential tips to help embrace the greens in your photographs using both Adobe Photoshop and Lightroom:
In Camera Adjustments
Balance with White Balance - A good starting point is a neutral white balance. This ensures greens aren't skewed yellow or blue.

Exposure and Contrast - Play with exposure and contrast to bring out detail and vibrancy in the greens.

Editing Greens in Lightroom and Adobe Photoshop

Adjusting in Lightroom
- HSL Panel (under Color Mixer) : Go to the green hue in the HSL panel Saturation section. Adjust the saturation to increase or decrease green intensity. In the HUE section, you can adjust the sliders on the yellow and green to desired tone of the green.
- Color Grading: Use the Color Grading panel to selectively target shadows and highlights. Add a green tint to shadows for a richer look.

Adjustments in Adobe Photoshop
- Selective Color: Isolate the greens and adjust their cyan, magenta, yellow, and black levels for precise control.
- Channel Mixer: Blend green channels with others (like blue) for a specific green tone.

My Own Secret Green Editing Tip:
I tend to gravitate to rich greens with my editing, so in Adobe Photoshop, I use an action from my Wonder Collection set that is specifically designed to enhance and enrich the greens. You can see a video tutorial below on how I use it:
Helpful Tip to Remember: Don't overdo it! Subtle adjustments often yield the most natural-looking results. Now time to bust out the camera and take some pictures!


