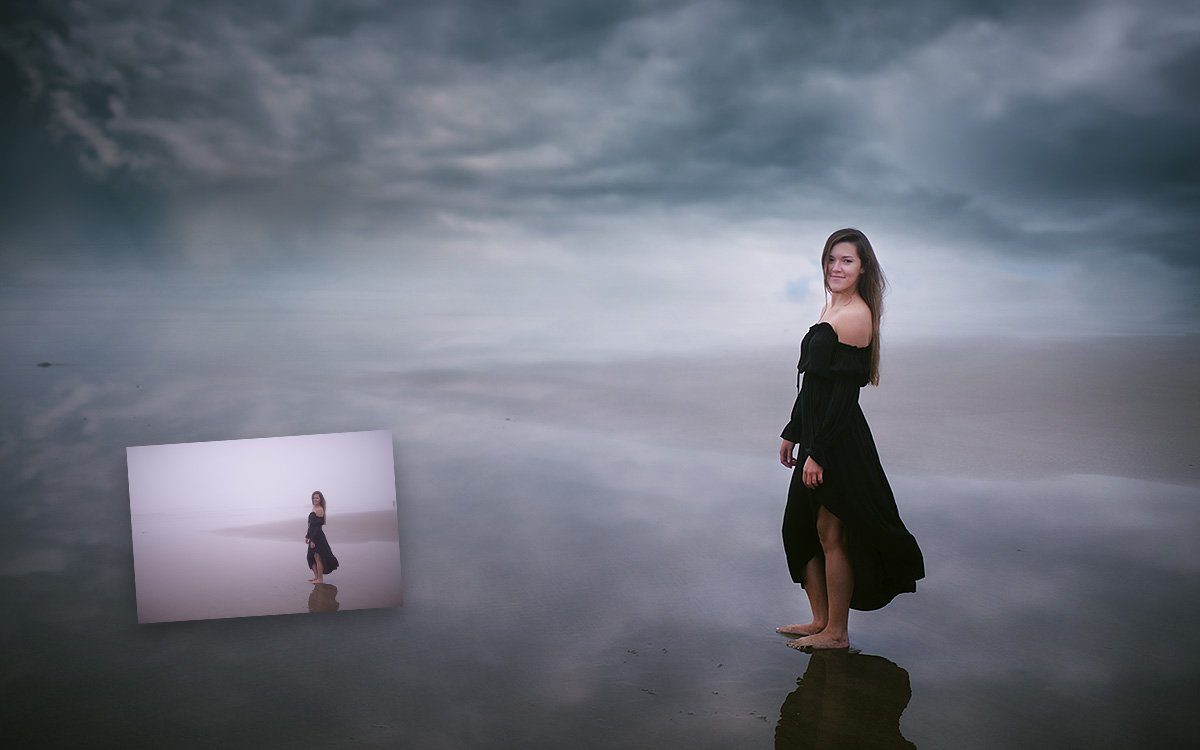
Adding sky overlays to a photo can quickly transform an ordinary image into something extraordinary, so I wanted to share some essential steps to make your photo edits stand out and shine. I’ve also created a video tutorial where I demonstrate these techniques in action, so be sure to watch that below.

Here’s a few tips on how to master sky overlays in Adobe Photoshop:
Choosing the Right Sky Overlay
Selecting the perfect sky overlay is crucial. Be sure to match the sky overlay to the lighting conditions in your original photo. For example, if your image is backlit, a sunset overlay might work beautifully, while an overcast day pairs great with a cloudy overlay.

Adjusting Colors for Consistency
If your sky overlay has different colors than your original photograph, adjust it with a color balance layer to ensure that the overall tones align. This step is key to creating a consistent tone and keeping it more natural.

Blending Techniques for a Realistic Look
There are two more important techniques to achieve seamless blending:
- Setting the Blend Mode - Set the sky overlay layer’s blend mode to “Multiply” to help it blend in more naturally. This is especially helpful for tree-lines and buildings.
- Matching the Focus - If your background is out of focus, add a bit of blur to the sky overlay to keep it consistent. This trick prevents the sky from appearing unnaturally sharp against a softer background. I typically add a Guassian Blur adjustment. (This is found in the menu under Filter -> Blur -> Gaussian Blur)


VIDEO TUTORIAL
~
~
~


