
Are you ready to transform your snapshots into stunning works of art? These 4 essential tips will help get you started on achieving a more professional look!
Master Lighting for a Pro Look
Lighting can make or break your image, and understanding how to use it to your advantage is crucial. A good starting point in understanding and "seeing" how light falls, is working with natural light. Here are a few tips and examples:

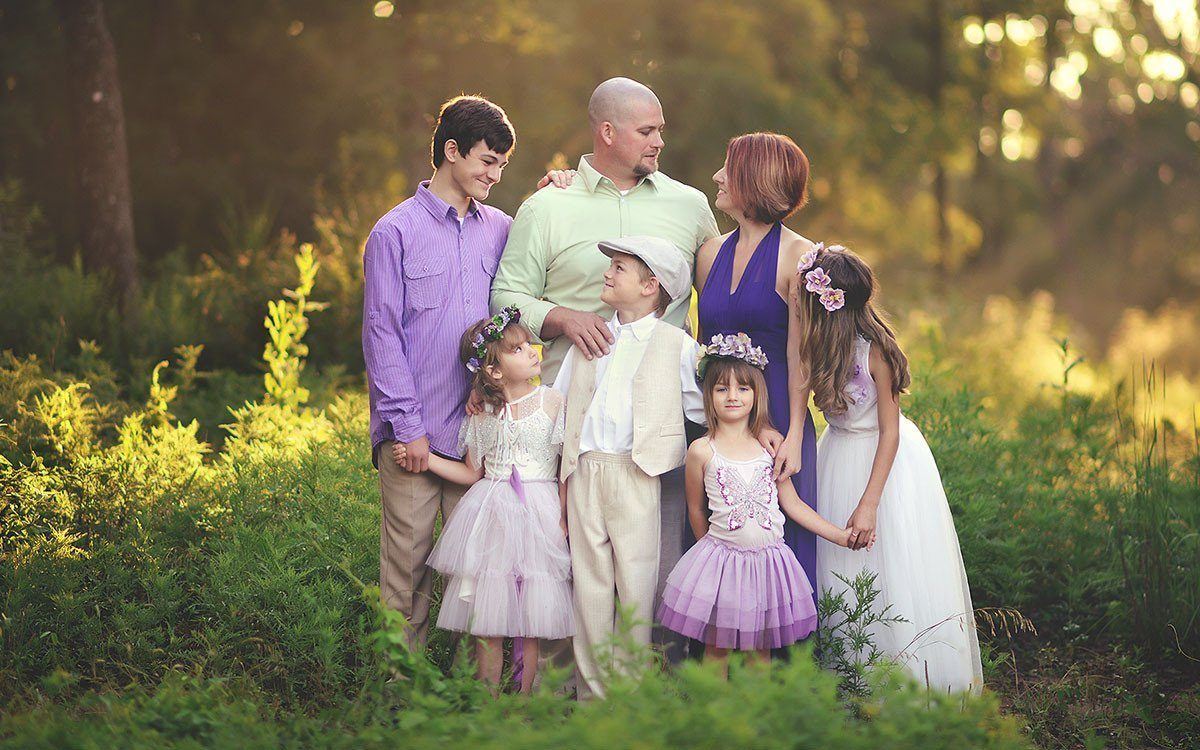
The Golden Hour
Shoot during the golden hour—shortly after sunrise and just before sunset. The light during these times is often soft, warm, and diffused, creating a magical glow that enhances colors and reduces harsh shadows. This is considered one of the best times for portrait and landscape photography.

An Overcast Day
Cloud cover acts as a natural diffuser, softening sunlight and minimizing harsh shadows. On overcast days, you’ll find that colors are more saturated and details are more evenly lit, making it an excellent time for shooting portraits and nature scenes. Be mindful to move your subject to where the light is even on their face, heavy shadows can still show up on an overcast day depending on the time of day and where the sun is above the clouds.


The Power of Backlight
For backlight, position your subject with the light source behind them to create stunning silhouettes or to highlight edges with a halo effect. Use a reflector or fill flash to illuminate the subject’s front if necessary. You can find more detailed tips HERE. You can get good backlight in the golden hour, during midday light, shade (example below under Finding Shade), and indoors as well with window light.

Finding Shade
When shooting in bright sunlight, move your subject into the shade to avoid direct sunlight's harsh contrasts. Shade provides even, diffused light that can enhance the quality and reduce glare. You can place your subject in the dappled light in a shaded area as well to get good light and backlight too.

Pay attention to Light Direction
As you go through your day, be mindful of how the light falls around you and the subjects around you. Side lighting can create dramatic textures and depth, full front lighting can give a more even and straightforward appearance with less shadows, while backlighting can add beautiful dramatic effect. Be sure to experiment constantly with different angles to see how the light is.
Understanding Your Camera
Aperture controls the amount of light entering your camera and affects the depth of field in your photos. It’s represented by f-stop numbers (e.g., f/2.8, f/8) and understanding how aperture impacts your photos will help you make more informed choices when setting up your shot.
Shallow Depth of Field
Use a lower f-stop number (e.g., f/2.8) to create a blurry background and make your subject stand out. This technique is perfect for portraits and close-up shots. Here is a great blog post on Shallow Depth of Field that goes into more detail.

Greater Depth of Field
If you are wanting to keep more of the scene in focus, then opt for a higher f-stop number (e.g., f/8, f/11) This is ideal for landscapes and architectural photography where you want to capture a wide range of details. Here is another blog post on Aperture.

Perfecting the Composition
Composition is about arranging elements in your frame to create a visually appealing image. Here are some foundational principles :
Rule of Thirds
Imagine your frame is divided into nine equal parts by two horizontal and two vertical lines. Place your subject along these lines or at their intersections to create a balanced and engaging photo.

Leading Lines
Use natural lines in your scene—like roads, rivers, or architectural elements—to guide the viewer’s eye towards the main subject.


Framing
Incorporate elements within your scene (like windows, archways, your surroundings) to frame your subject as this adds depth and can draw more attention to the focal point of your image. There are lots of ways to "frame" your subject, get creative!

Ultimately, the subject of your photo is what tells the story. Make sure it’s well-positioned, well-lit, and engaging.
For Portraits, be sure to Connect with your subject and direct them to capture genuine expressions and emotions. Pay attention to background distractions that could detract from the subject as well.
For Still Life images, arrange objects thoughtfully, considering their shapes, colors, and textures. Use props and backgrounds that compliment but make sure to not overpower your subject.
How Editing Can Elevate Any Image
Editing is where you can refine and enhance your photos. With a variety of software options available, you can make adjustments that bring out the best in your images. I personally use Adobe Photoshop, Adobe Camera Raw (In Photoshop), and Adobe Lightroom.
In these programs, you can adjust the exposure, contrast, crop, and color correct when needed in addition to adding more creative touches like composites, etc.


Edited with Evolve Collection


Creative Edits in Adobe Photoshop
By practicing these essentials, you’ll be well on your way to transforming your snapshots into amazing, professional-looking works of art. Remember to keep experimenting and refining your skills!
Want even more help elevating your photography?
Browse our collection of editing tools and overlays to keep leveling up.
Breakdown for Beginners/Photoshop Basics

Visit more helpful blog posts :


